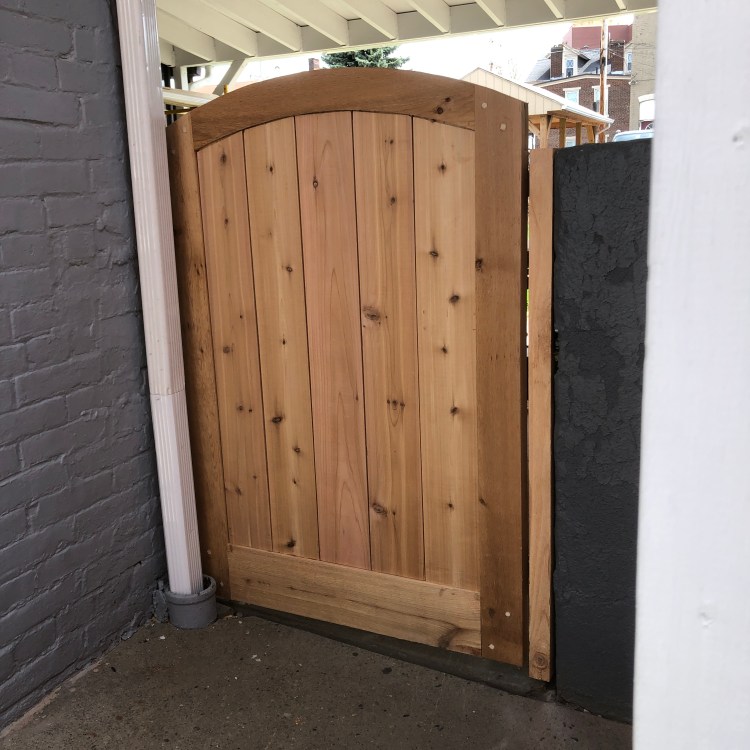
Next week I’m going to California to pack up the house, and bring my dog Archimedes to Pittsburgh. That means he’ll need an enclosed yard, so I had to get around to finishing the gate by the back of the house. I’ve made some furniture over the years, and had a pretty nice workshop in California, but this was going to have to be a site-built gate. This gate is not quite as exotic as the 5′ x 6′ redwood giant (with custom strap hinges) that I built in California, but still a good bit nicer than the gate it replaced.
Building a gate actually a pretty simple process. I took the measurements and roughed out a design in about 30 minutes. (My godmother chuckled watching me refine the design, but it’s a really simple process. I use a variant of the 1″ drawing method from Fine Woodworking, where you rapidly sketch multiple iterations that are about 1″-2″ square. Once you have the general idea, you then move to more accurate drawings.) Once I had a design I liked, I headed over to Paul Lumber on Liberty Ave to get some wood. Designs like this will sometimes morph as you see what wood they have available, and that was the case here. Still, I like buying wood from my local independent lumber yard. A big box store might have more overall lumber, but it’s never as high quality as what you find at a smaller retailer.
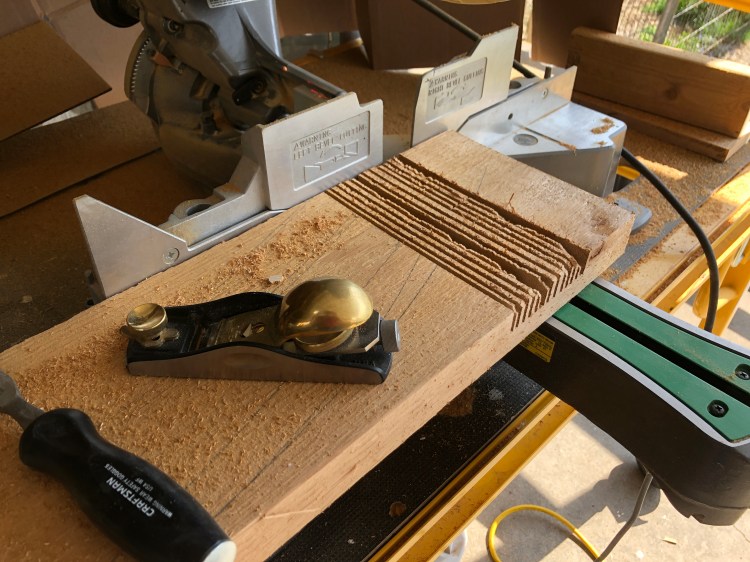
Originally I was going to do mortise and tenon joints, but that would have taken quite a while to do by hand, and I don’t have a good bench here to clamp the wood to, so I settled for half-lap joints. First, I roughed out the half-laps at the sliding compound miter saw. Here you see the 2×6 that makes up the upper rail of the gate.
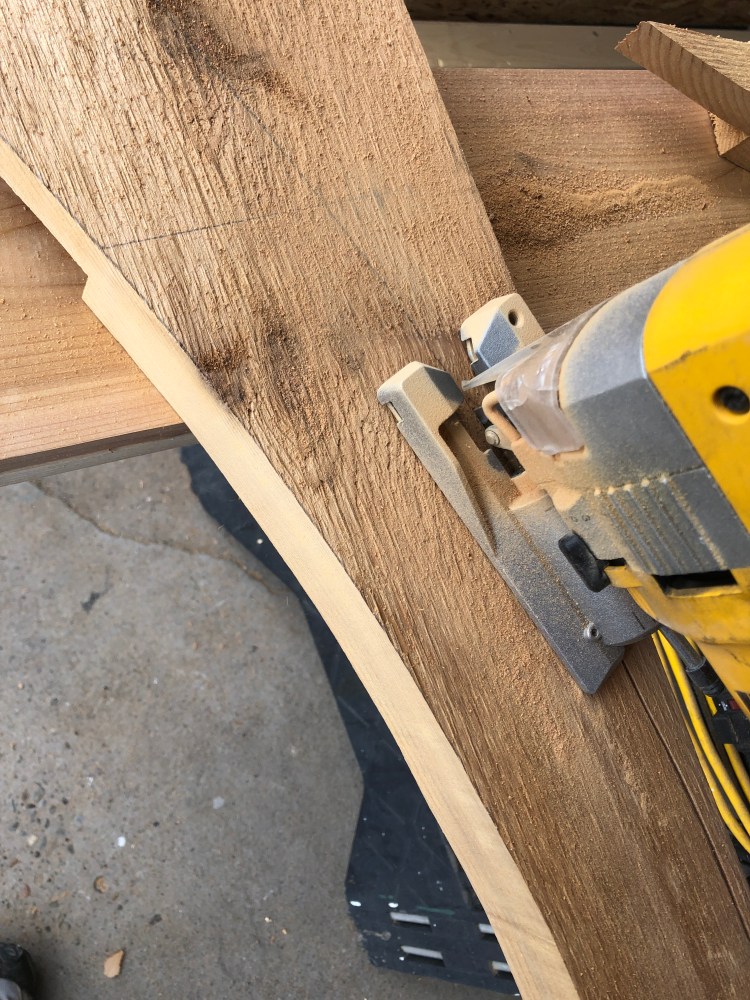
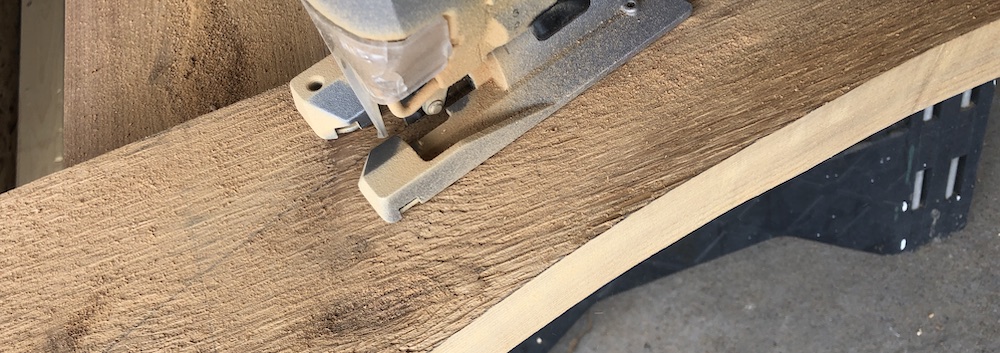
Working in my big shop, I’d have set up the extension to my bandsaw and laid out a perfect arch for that upper rail. The field calls for something a little simpler. I used a piece of leftover vinyl flooring and some clamps to form the curve, which I then traced onto a 2×6 and cut out with a jigsaw.
Note the notch on the underside of the material- that’s the half-lap joint. Easier to cut that first, so that the shoulder remains parallel with the stiles.
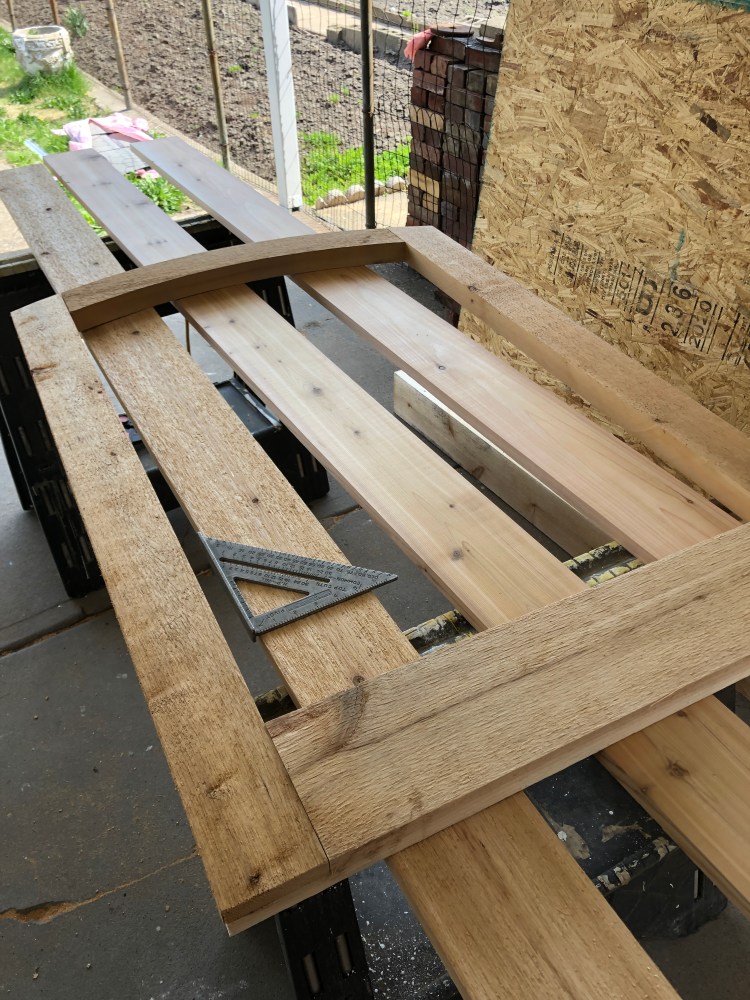
From there, I did a test layout to figure out the length of the panels. I decided to make these panels captive, so i routed a 1/2″ groove in the rails to hold the field panels. In a perfect world, I would have used a removable strip on the lower rail, to allow for easy removal/ replacement if part of the field gets damaged. (That’s what I did on the 5′ x 6′ gate in California). In my case, though, I’ll just have to cut it loose and repair if necessary. (Note to future tenants- you do NOT want to break this gate.)
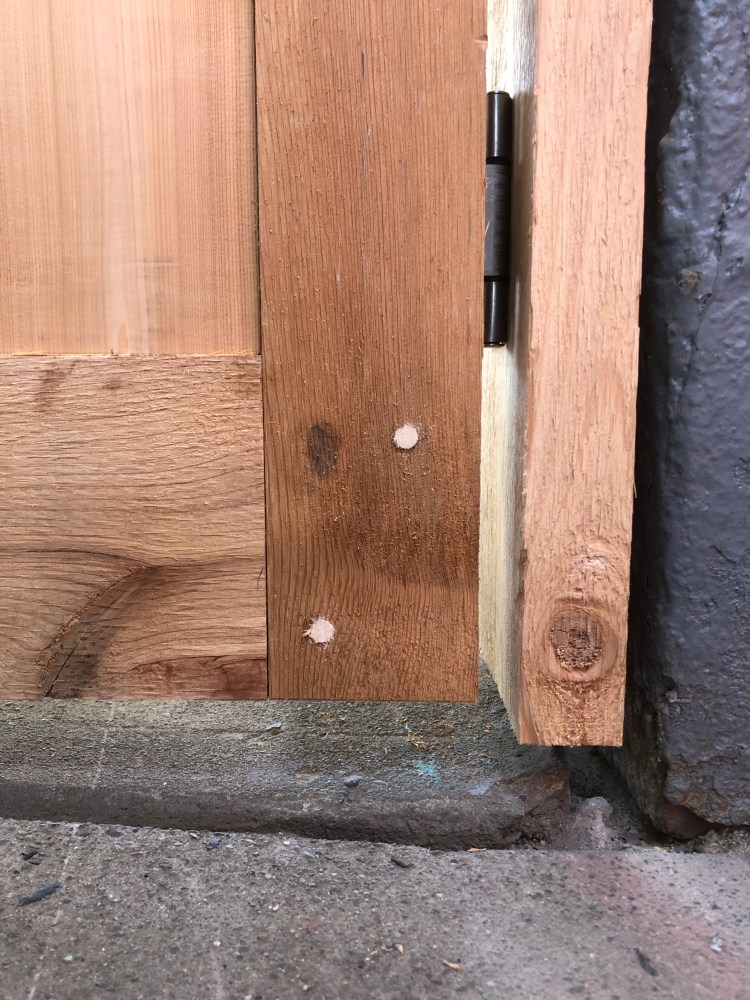
Once the panels were fitted, I glued up the half-laps with Titebond III (waterproof wood glue) and then pinned the joints with dowels. In a perfect world, I would have used a very nice wood for the dowels, but these are just 3/8″ poplar from the lumber yard.
To hang the gate, I needed a piece of wood along the edge of the masonry wall (on the right in this picture). I attached that with a couple of redhead wedge anchors, sunk about 1-1/2″ into the wall. Then I just attached the hinges to the gate, propped the gate in place, and fastened the other side of the hinge to the wood on the wall. It was square to within 1/8″ when I hung it. We’ll see how that holds up over time.
I used stainless steel hinges and latches because zinc has a tendency to turn cedar black. That also might be overkill, especially since the gate is completely under cover of the porch roof, but that’s just the way I work. The difference between zinc hardware and stainless was about $11, and it looks so much nicer.
There are a couple of minor glitches, but overall, it’s pretty good for “a little rough carpentry”.

Archie thanks you
LikeLike