
At Pearl St, the attic is a usable bedroom, and we wanted to dress it up a bit, so I opted to fabricate and install a cable railing system. For some context, we closed in 3 sides of a stairwell opening, for a total of about 15 linear feet. Here’s a cost breakdown for the project:
- Swage studs $200 (roughly $2 each, see notes below)
- Stainless steel cable (Amazon) $75 (400′ roll, we only needed ~200′)
- Crimping tool (Amazon). $120
- Cable cutter (Amazon) $15
- Wood Railing (Home Depot) $50
- Steel posts (Home Depot) $120
- Rental of welder (Home Depot). $60
- Parts: $445
- Tools $195
- TOTAL $640 +/-
It’s not a hugely complex process- A buddy of mine welded up the posts for me, then I drilled them out for the cables, the installed the railings and cables themselves. There are plenty of posts on the internet about how to build a cable railing, so I won’t try to cover all of it. (a couple of good videos by This Old House video 1, video 2) However, here are my key learnings and thoughts about my own project:
- Buy or rent the right tools. I opted to purchase a hydraulic crimper and new cable cutters. We also rented a welder to fabricate the posts. (See below). Buying quality tools is always money well spent. You’ll rarely get professional results with crappy tools. At worst, you can resell them on craigslist when you’re done with the work. At best, you’ll reuse them many times (or help friends who love your project so much they want to mimic it in their place).
- Make the posts first. We fabricated so that we have 34″ above the floor height, then a 2″ round railing, to reach the code-mandated 36″ height. You can buy pre-fabricated posts, but we wanted a particular look to ours, so it was better to fabricate our own.
- You have two options for how to attach the posts to the stairs. You can fasten to the floor, or fasten to the inside of the stairwell. We opted to fasten inside the stairwell. My buddy welded tabs on either side of the posts to make it easier to attach, but in hindsight, we could have simply drilled through the post and bolted into the walls that way.
- I recommend making the part below the floorline as long as practical, since this is a “leverage point”. The longer it is, the less flex you’ll have if pressure is applied horizontally on the railing. In our installation, I put in an oak trim board, which is lagged into the floor joists to stiffen up the installation, and we then attached to the oak board and into the joists behind them.
- Shout out to Export Makerspace for their metal working tools. I went there to drill the nearly 200 holes required to make the system work. Doing this on a drill press was far superior to doing it by hand.
- For installation, first we bolted the posts in place, then we pre-finished the wood railing with 4 coats of poly. The railing also provides a little bit of longitudinal stiffness.
- To attach the cables, we went with a swaging system. Conceptually it was a good idea, but the specific parts I purchased were underwhelming. I’d suggest getting your hands on a small batch of parts first, and testing them thoroughly. I found that the parts I bought required a lot of crimping pressure. The particular parts we bought didn’t come with any instructions, so it was basically trial and error to figure out how to get it to work. We burned through an entire package of swaging studs due to some poor manufacturing tolerances from the supplier.
I’m happy with the outcome overall, and I’d do this same technique again, but with a better parts supplier for the swaging studs.
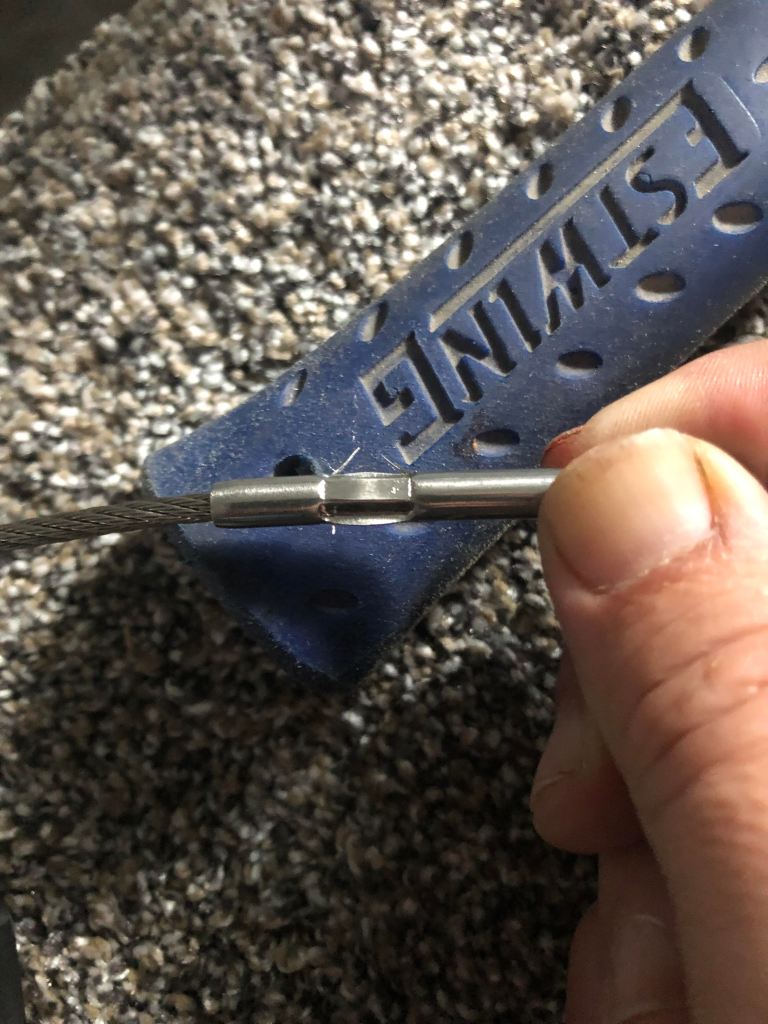
The swaged studs actually splintered slightly, creating very sharp edges that required attention. 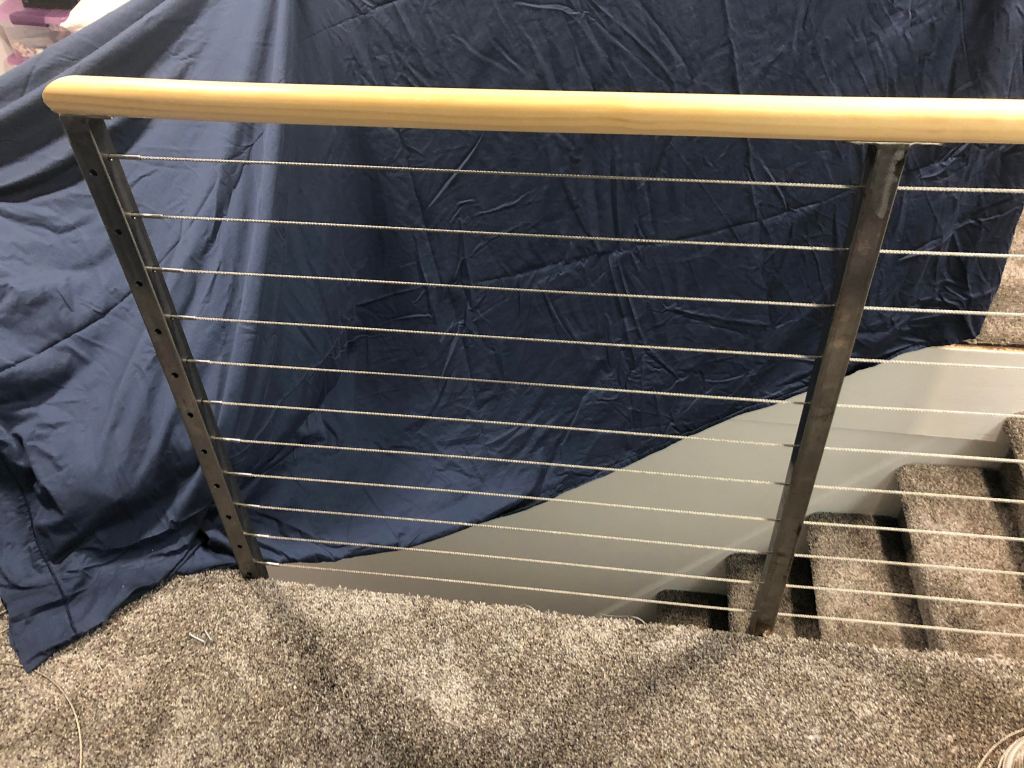
A section of the finished railing.
